Docs
Setting up a new email domain in Google Suite
The process of setting up a new email domain in Google Suite involves several steps. In this guide, we will walk you through the process, from adding the domain to activating Gmail and setting up a catch-all email. By following these steps, you’ll be able to configure your email domain effectively and ensure smooth communication within your organization. Let’s get started!
- Add the domain
- Domain Verification
- Activating Gmail
- Adding a Catch-All Email
- Test Your Email Setup
- Add a Sender Account to Gmail
Add the domain
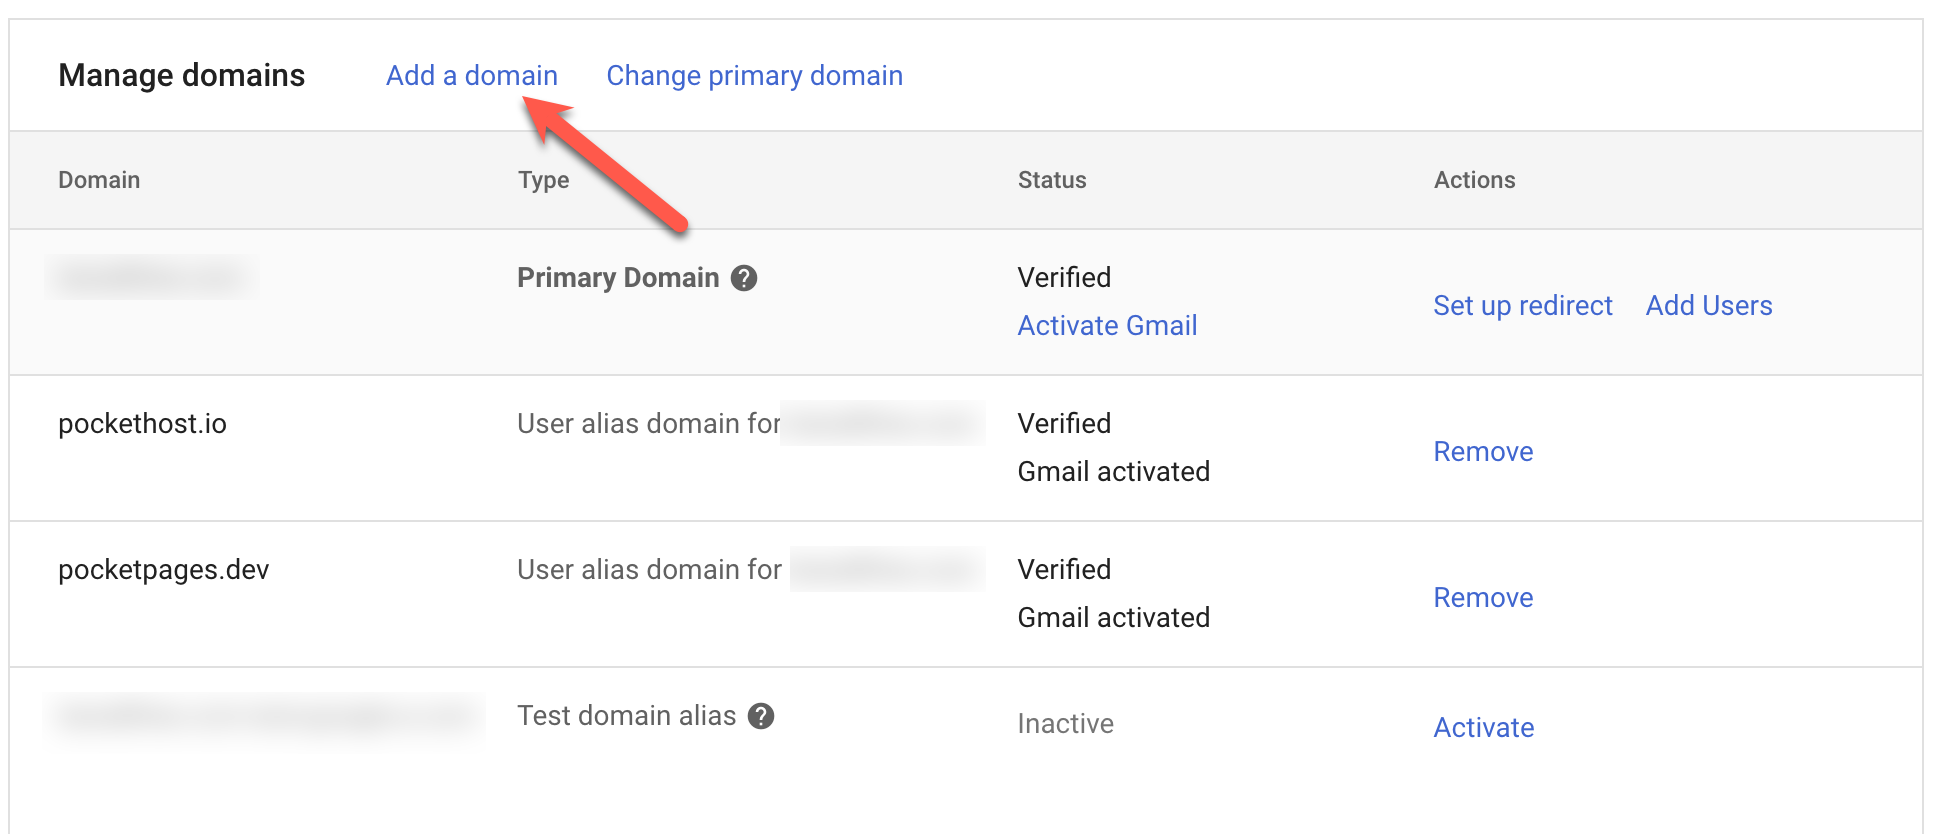
Go to the domains admin and add a new domain.
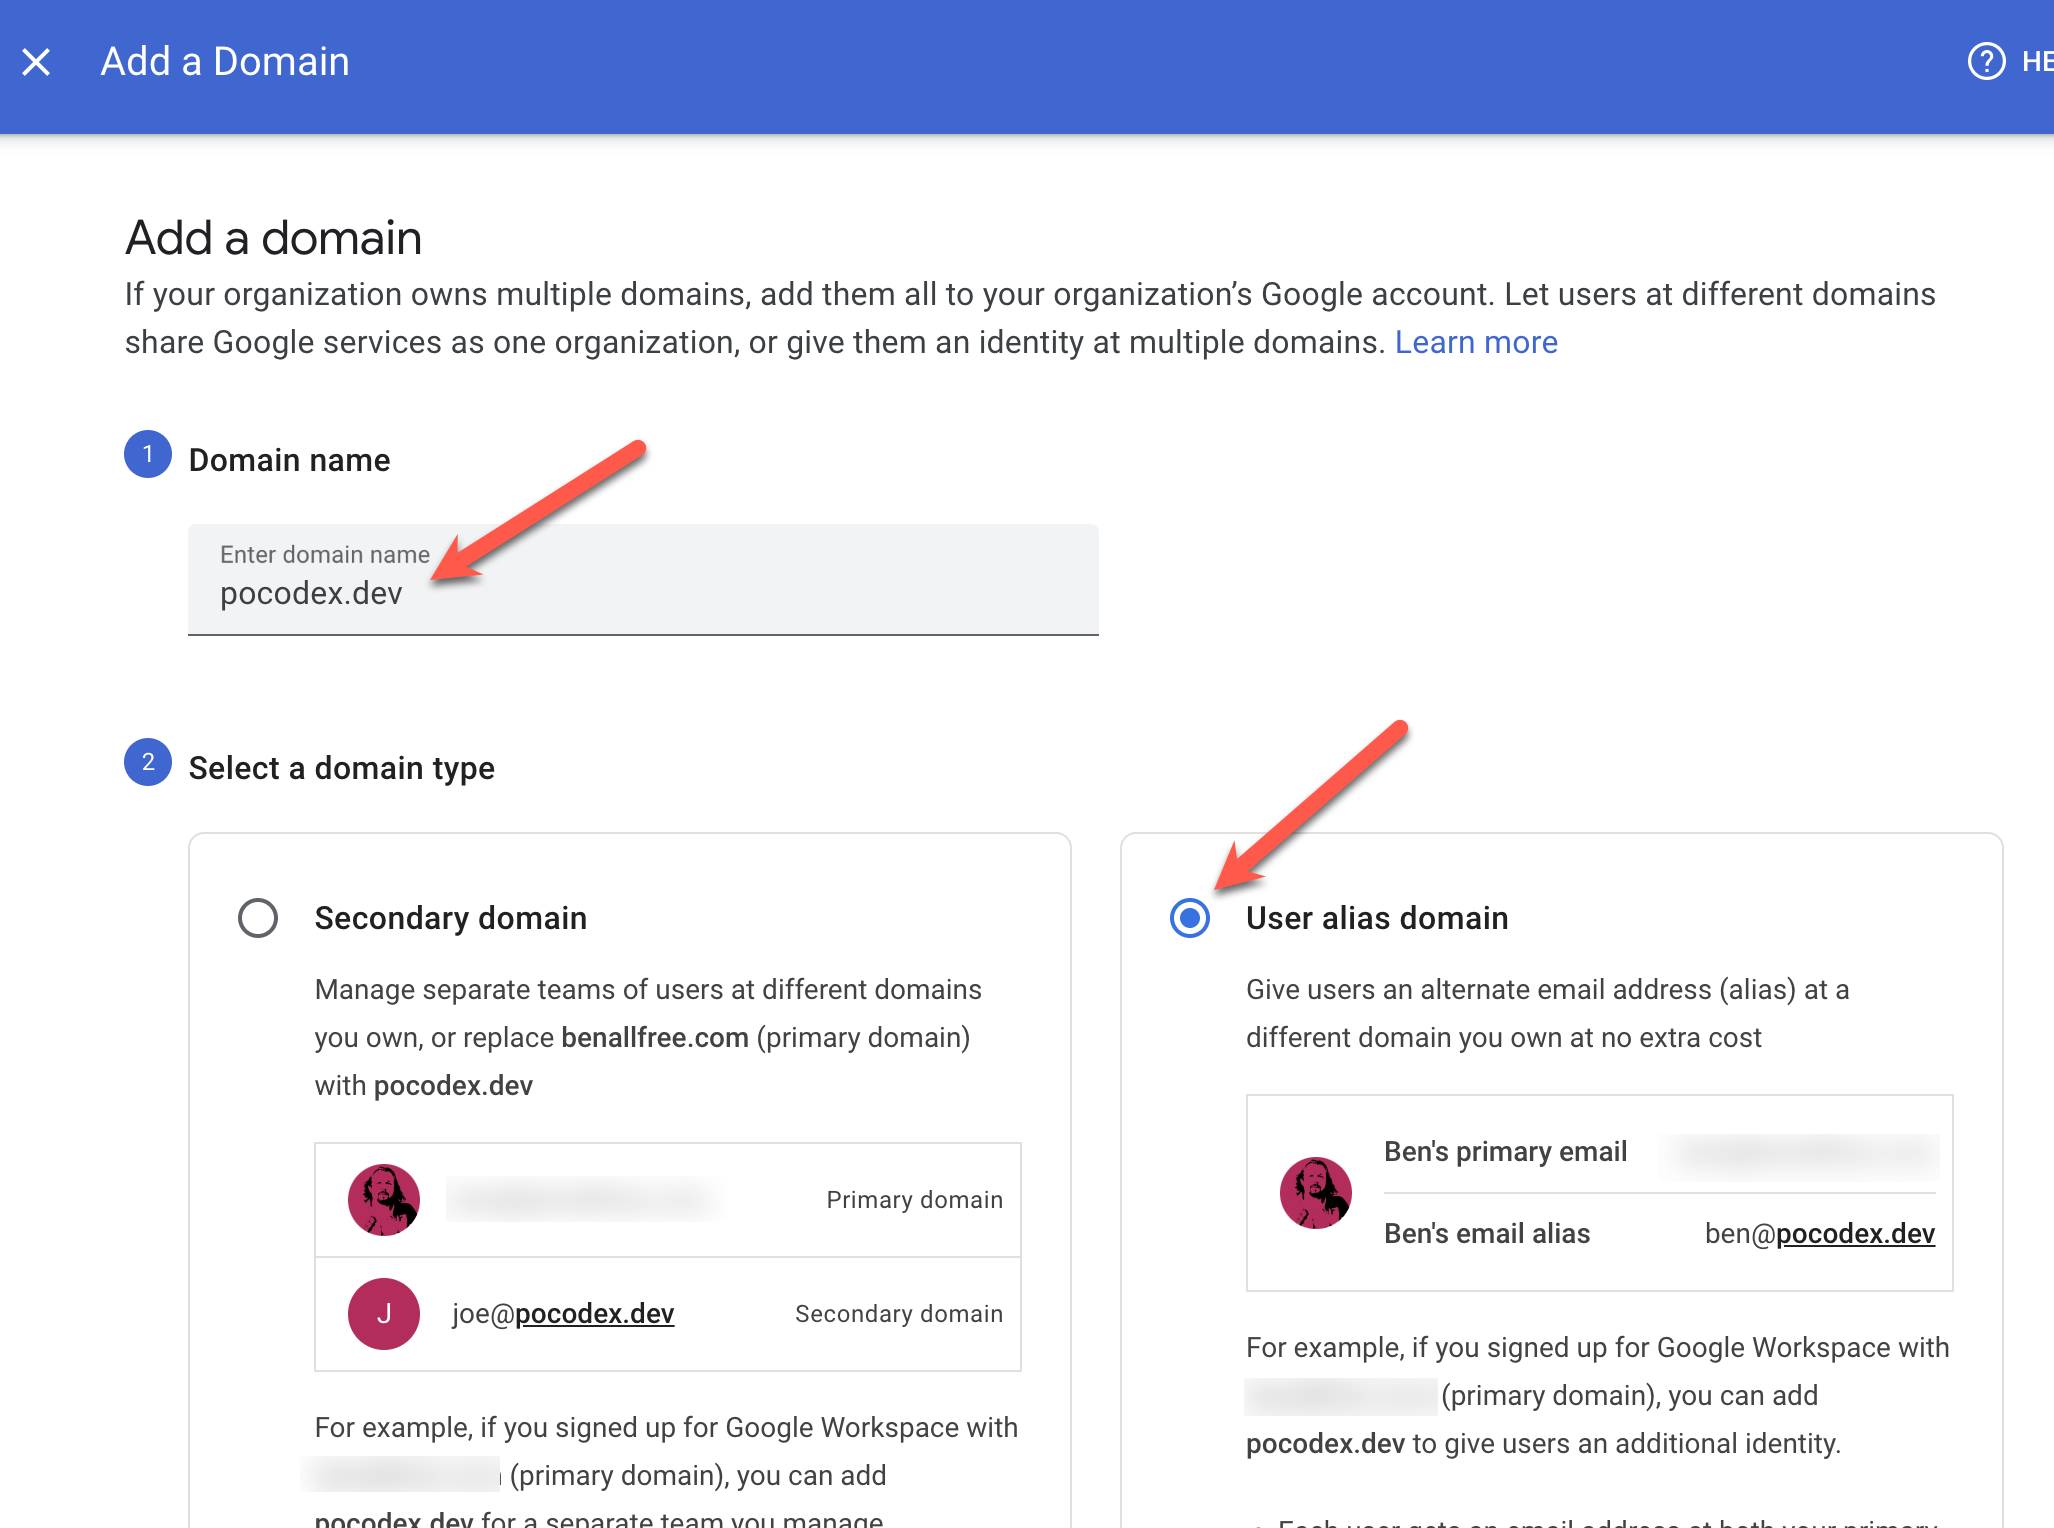
Set up an “alias domain,” which involves a verification step where you need to update your DNS records. Otherwise, you may have to do the following steps manually.
Domain Verification
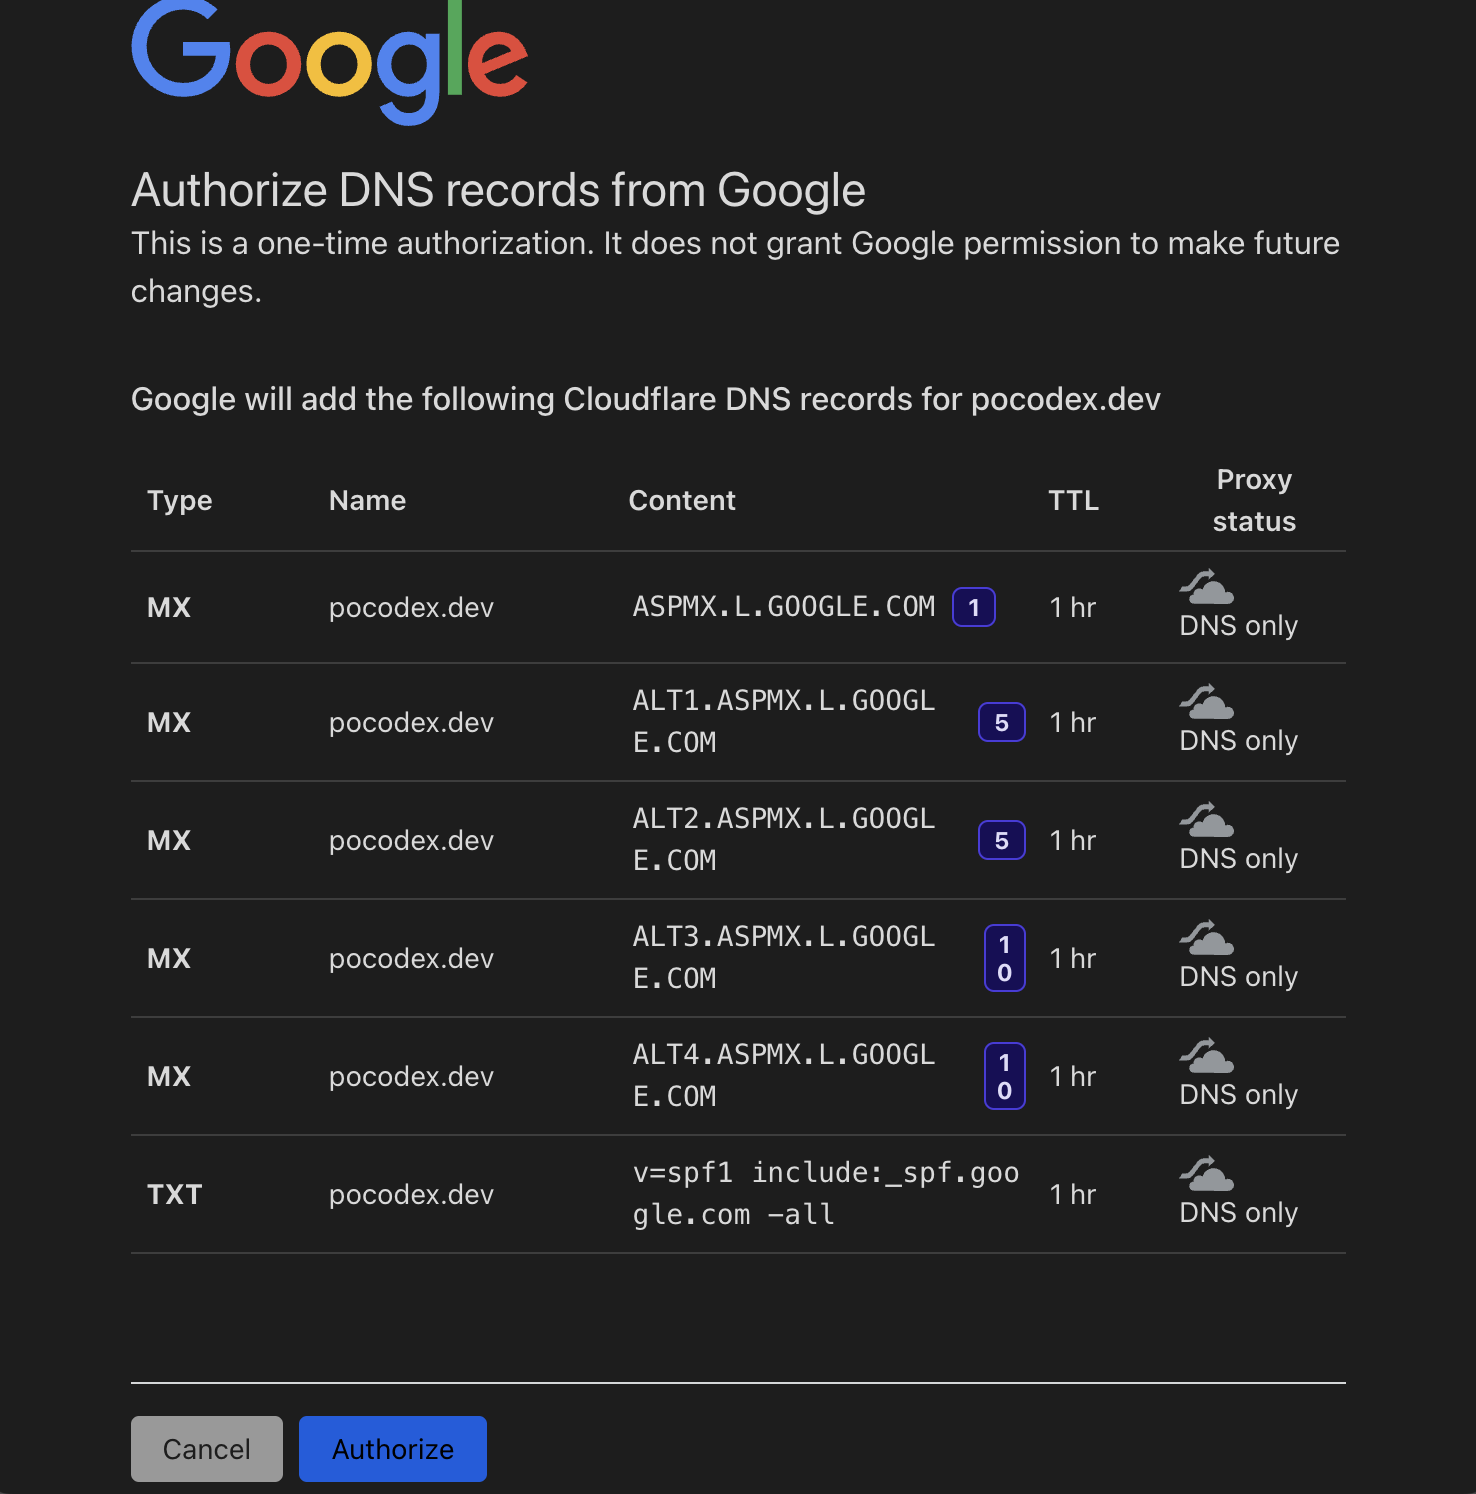
If you’re using Cloudflare as your DNS manager, Google will automatically recognize it and add the necessary DNS records.
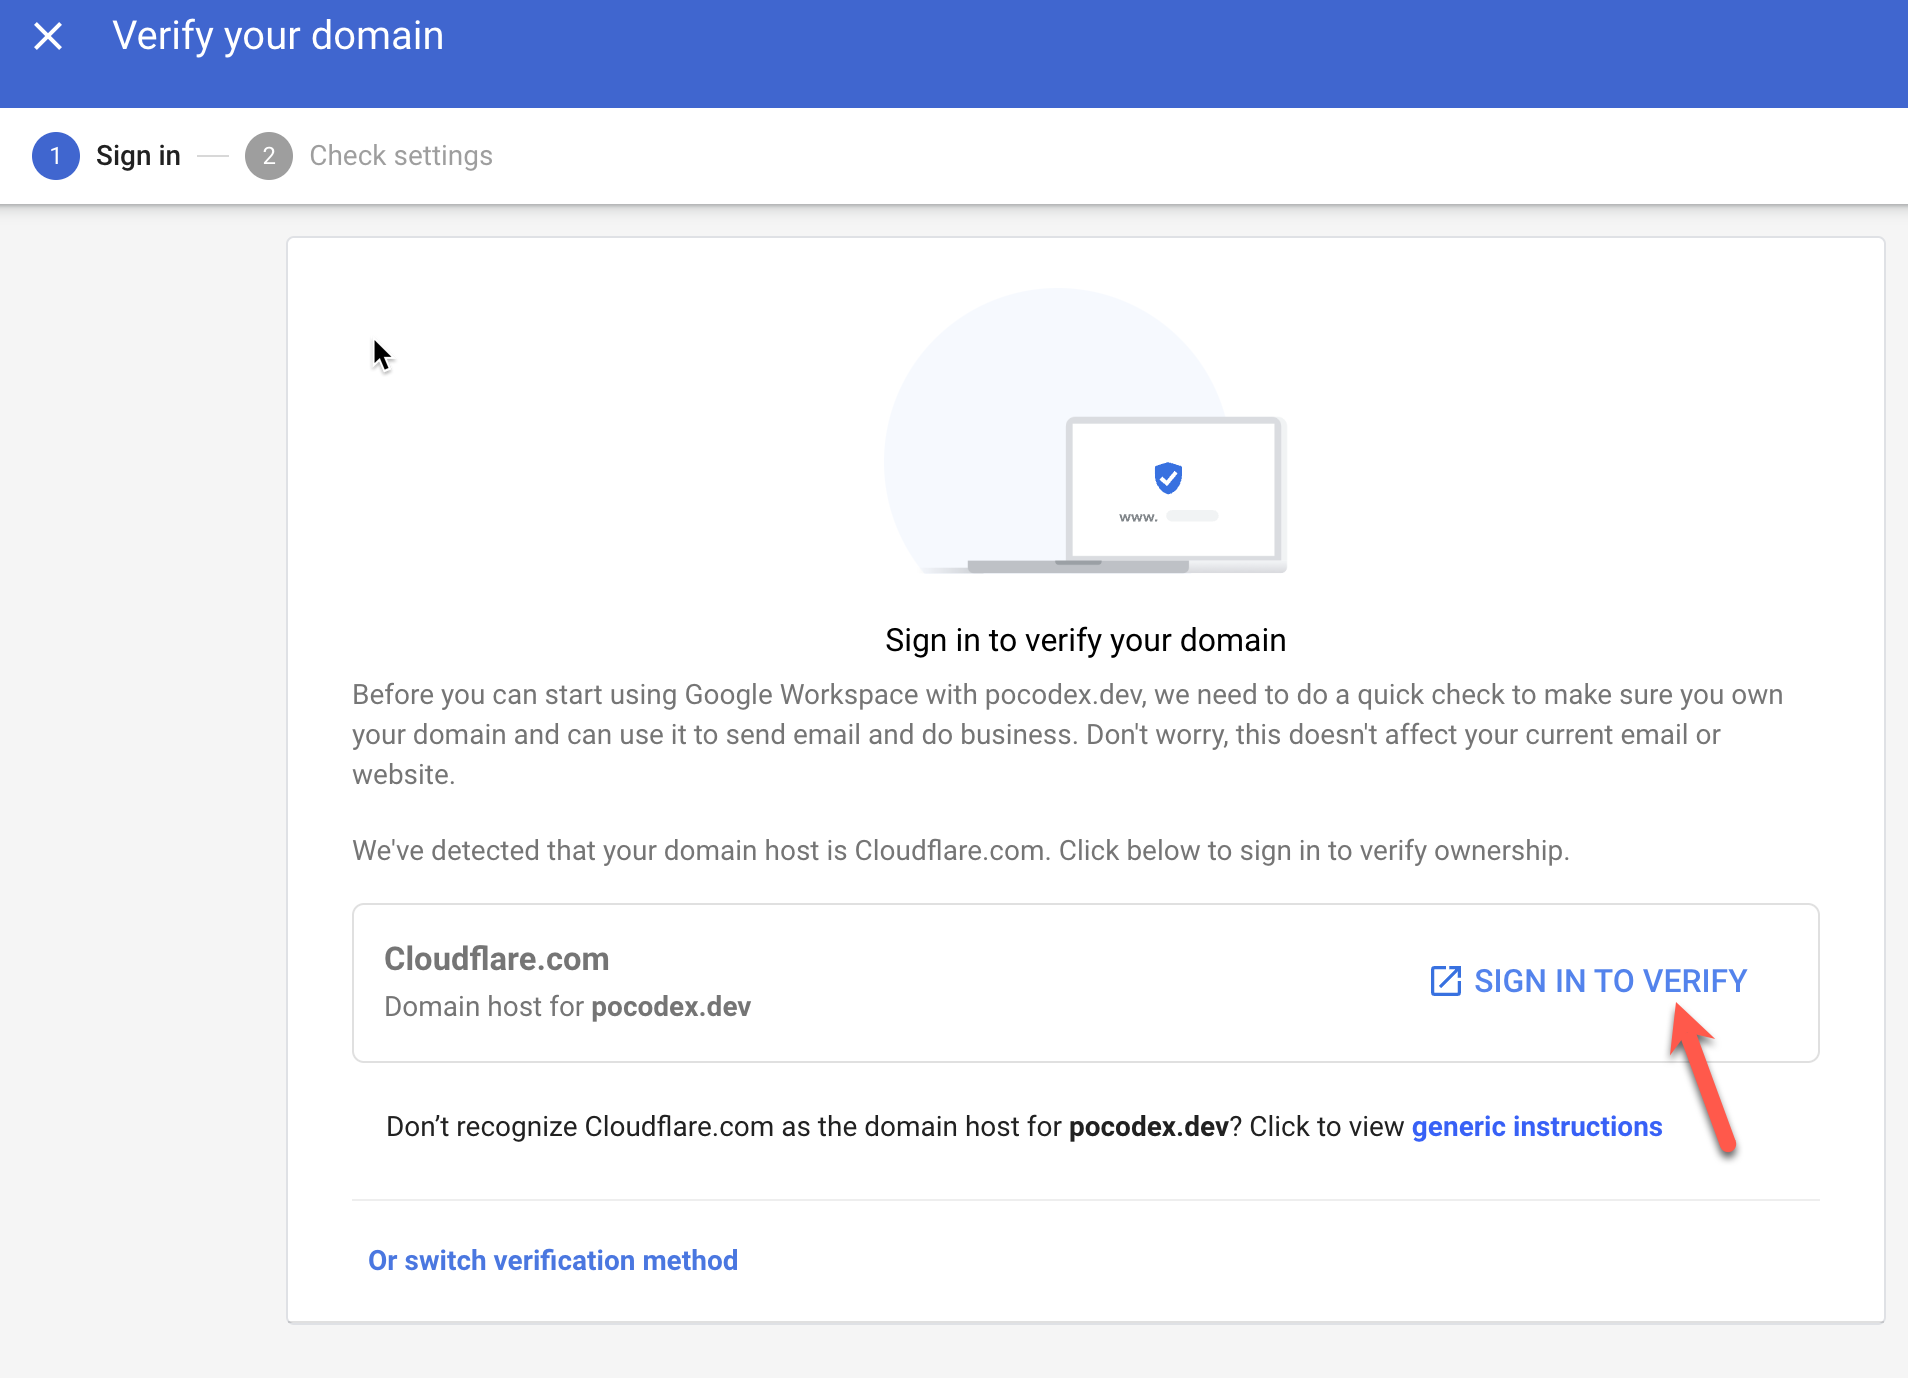
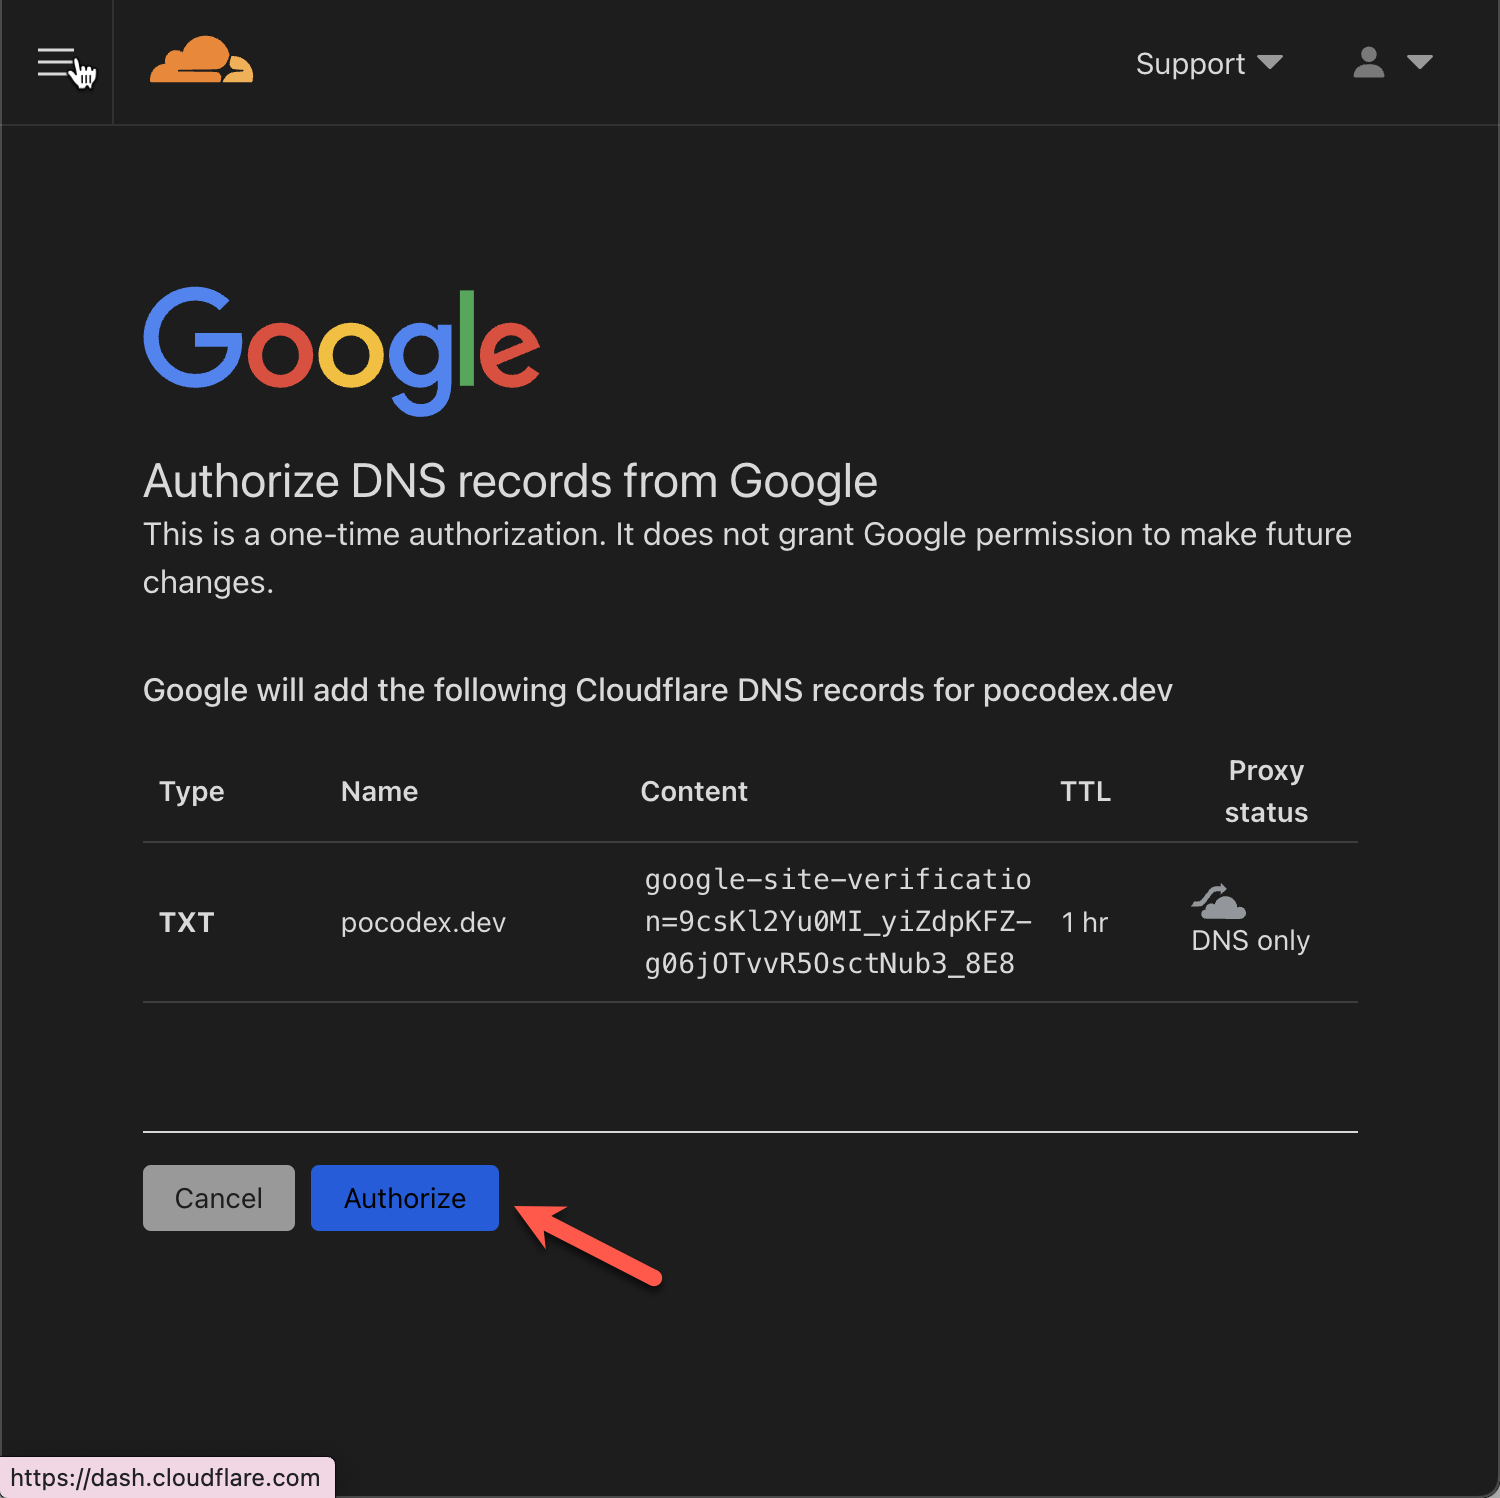
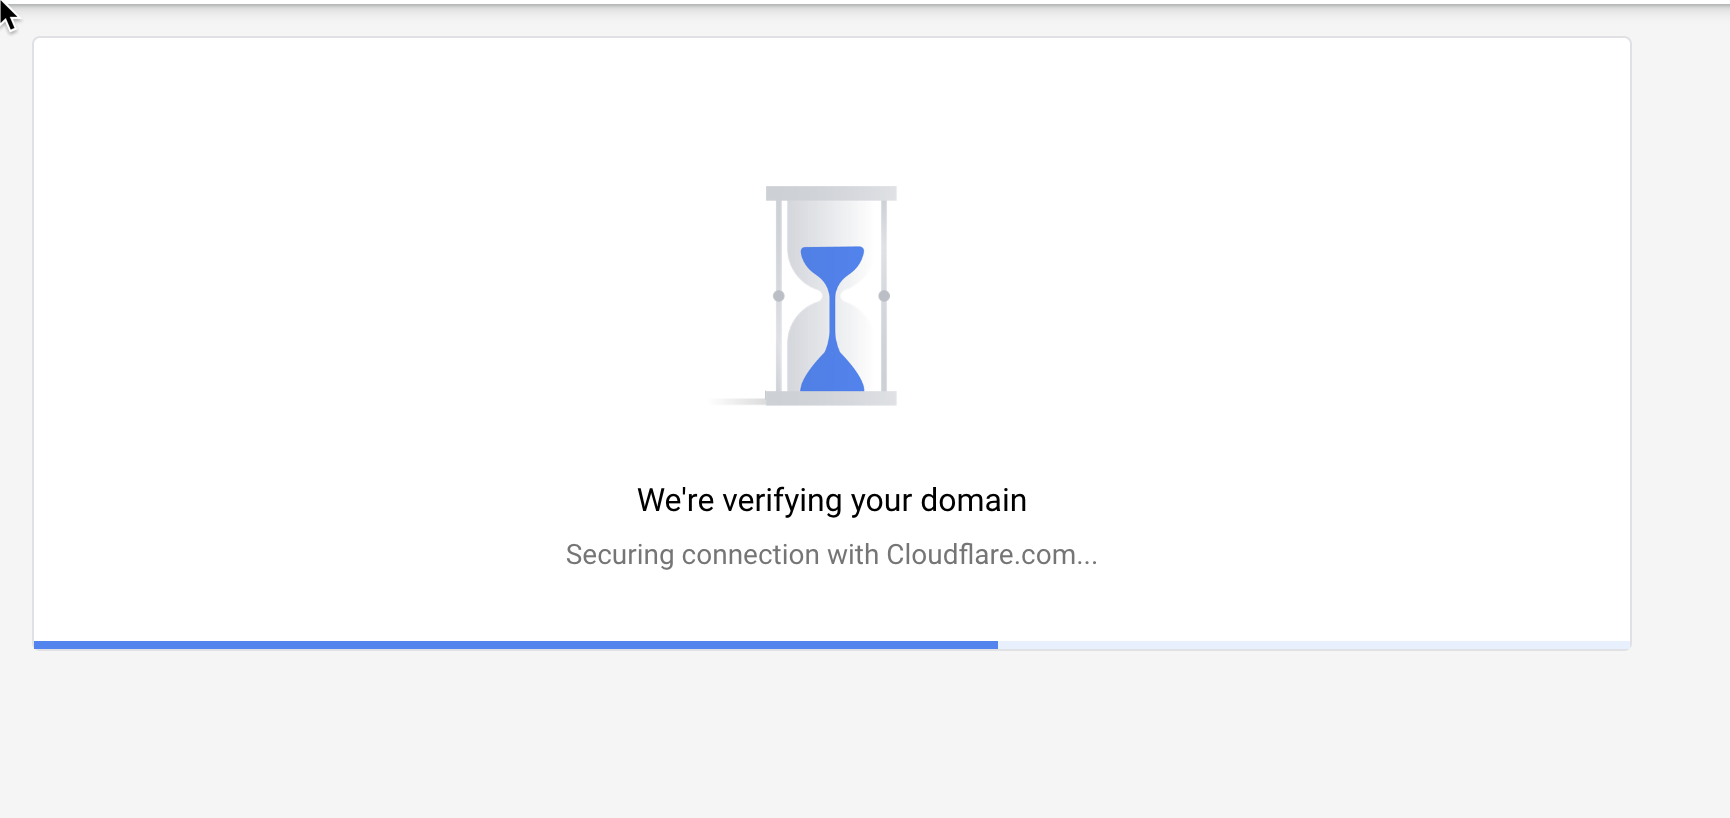
Then, wait for domain verification to complete. It should be fast.
Activating Gmail
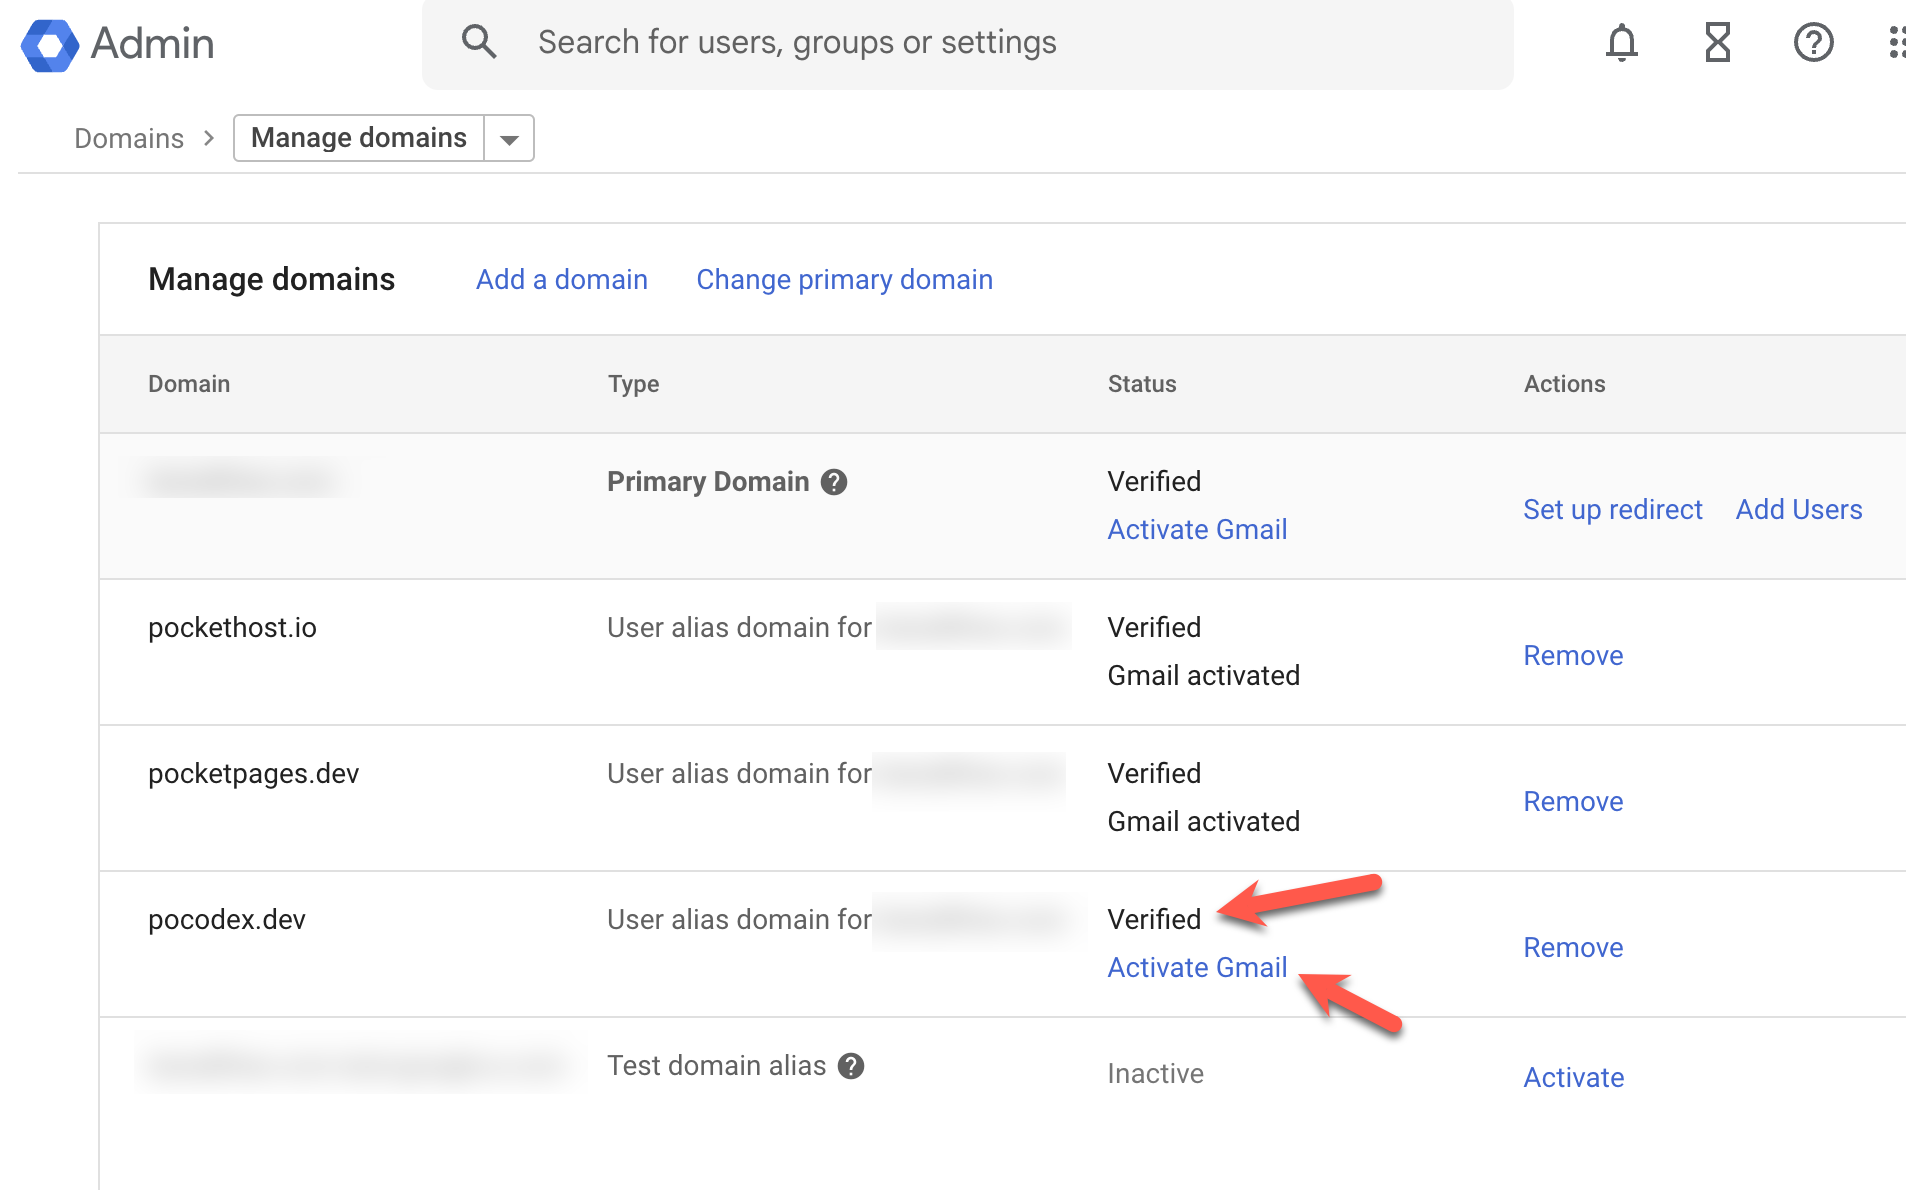
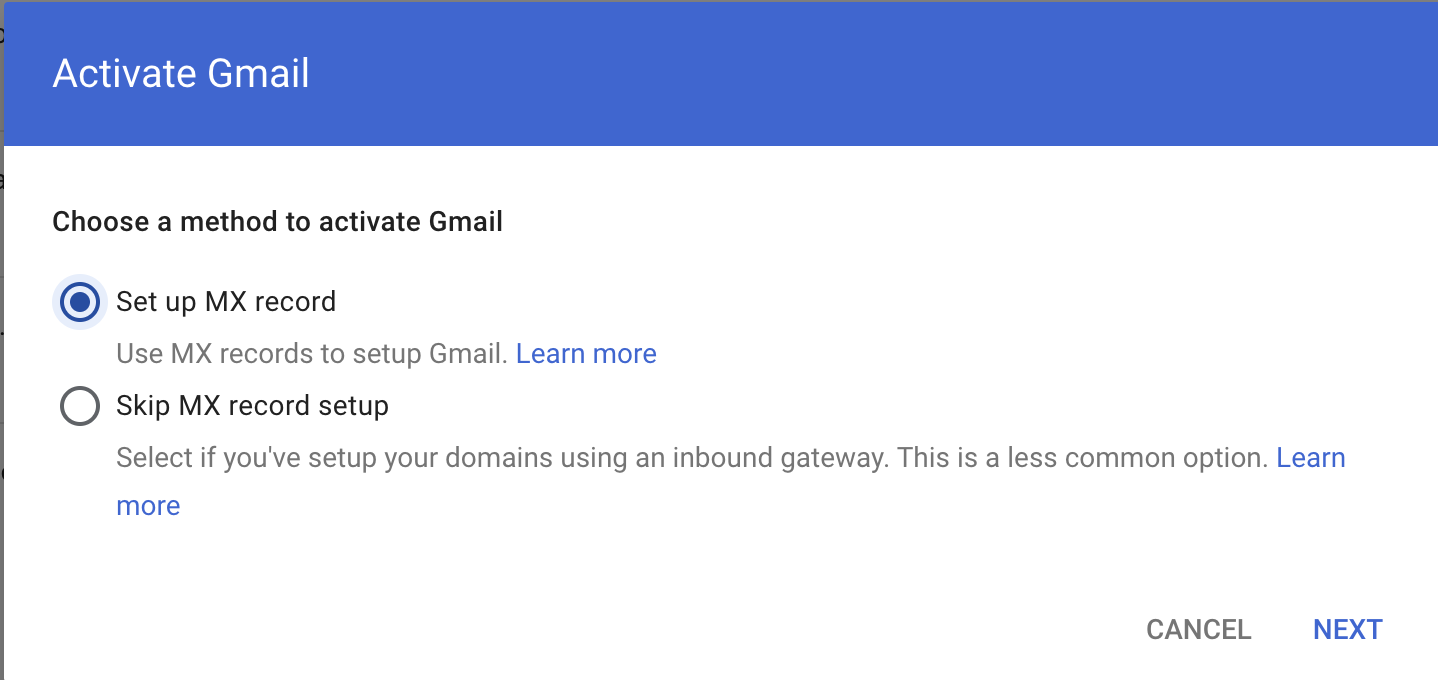
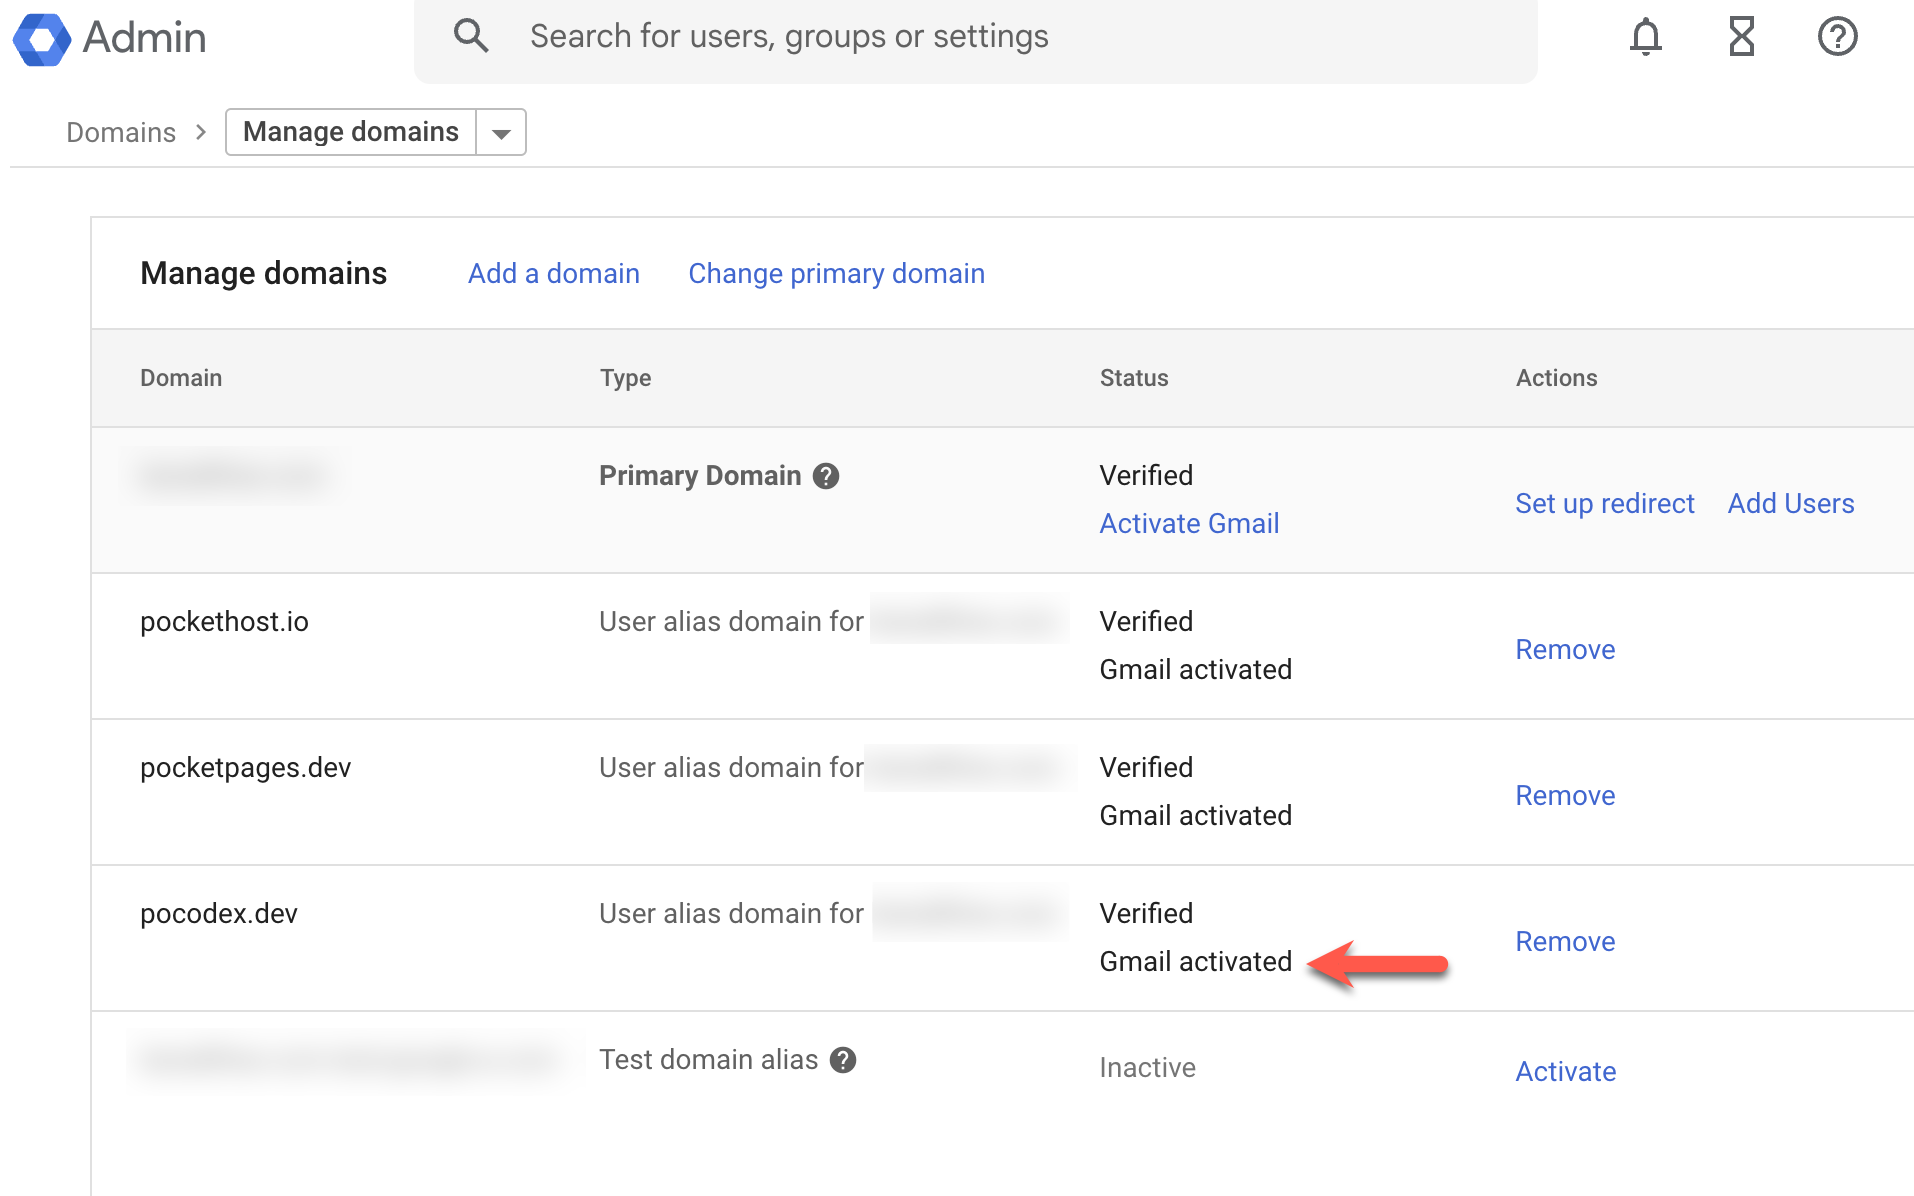
Once again, Cloudflare makes it easy and automatic. Otherwise, this may involve manual steps if Google is not integrated with your DNS provider.
Adding a Catch-All Email
I set up a catch-all email so that any email sent to <anything>@pocodex.dev is routed to [email protected] if the specific email address doesn’t exist. This is optional, but you might want to consider what happens to unrecognized email addresses in your setup.
This Google help article covers it, but here it is below too:
I like to go to Default Routing and add a rule:
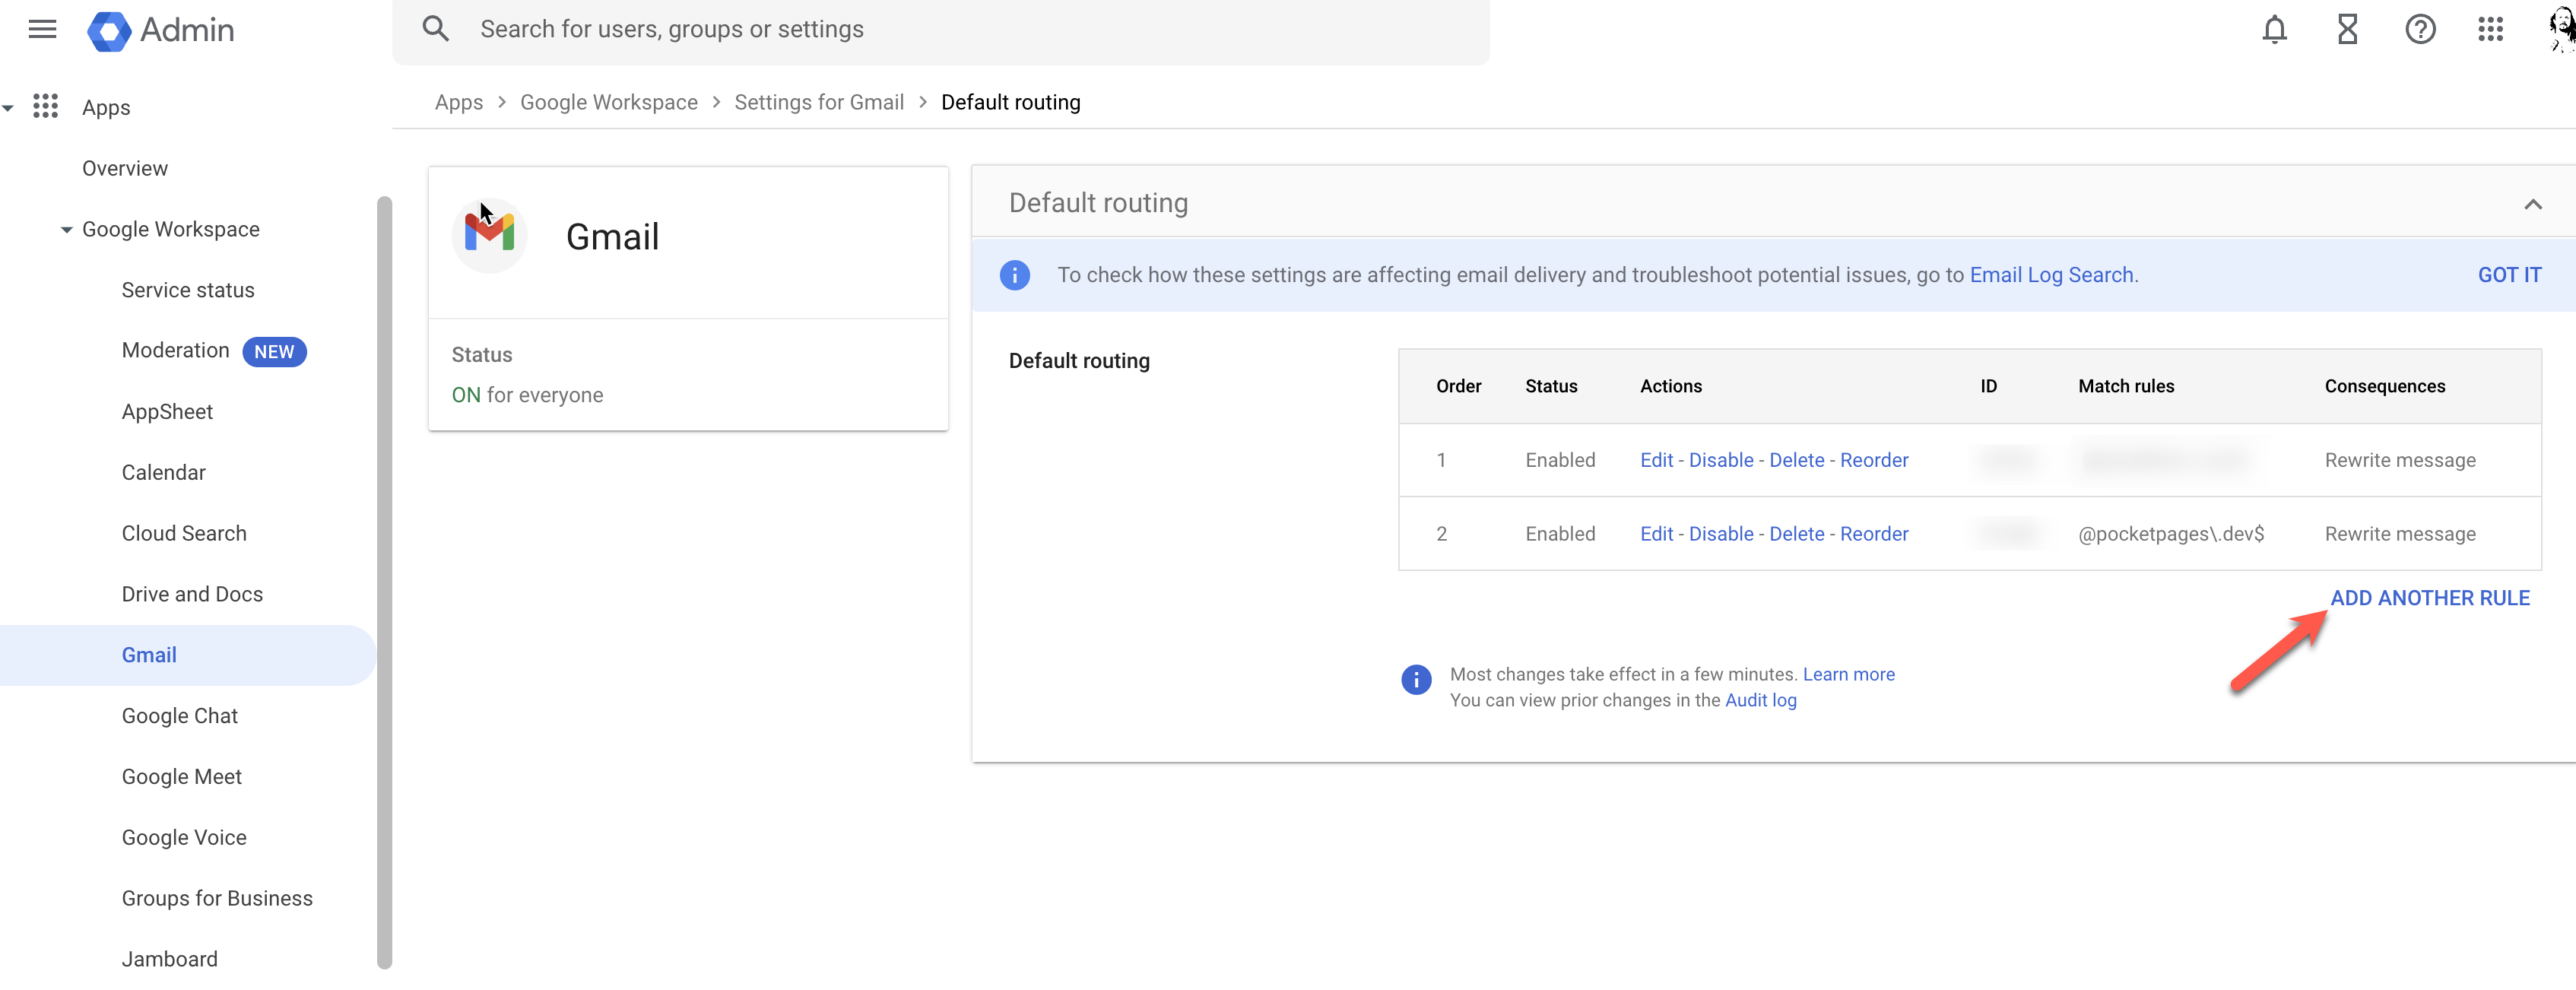
Use a regex to match the entire domain like @pocodex\.dev$. I also like to prepend [CATCHALL] - to the subject so I know that it wasn’t sent to my “real” address.
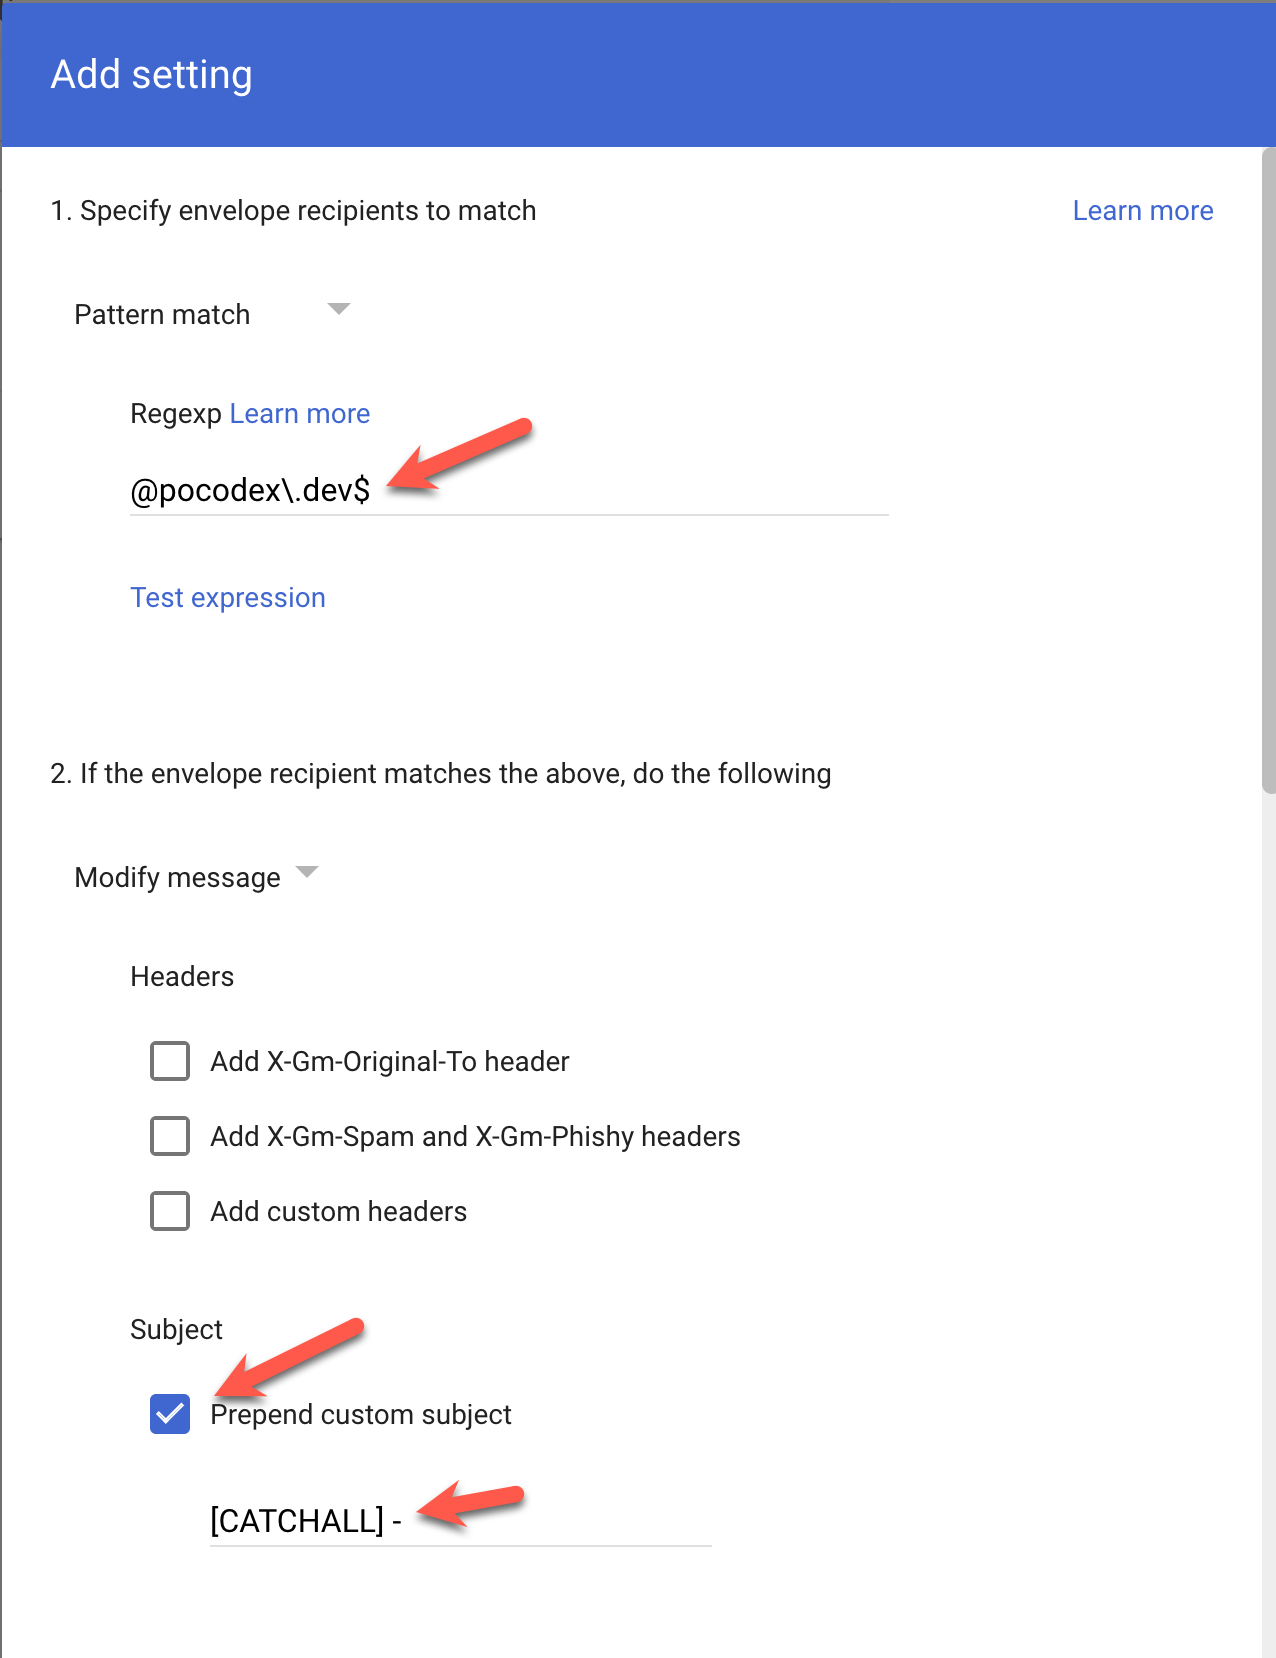
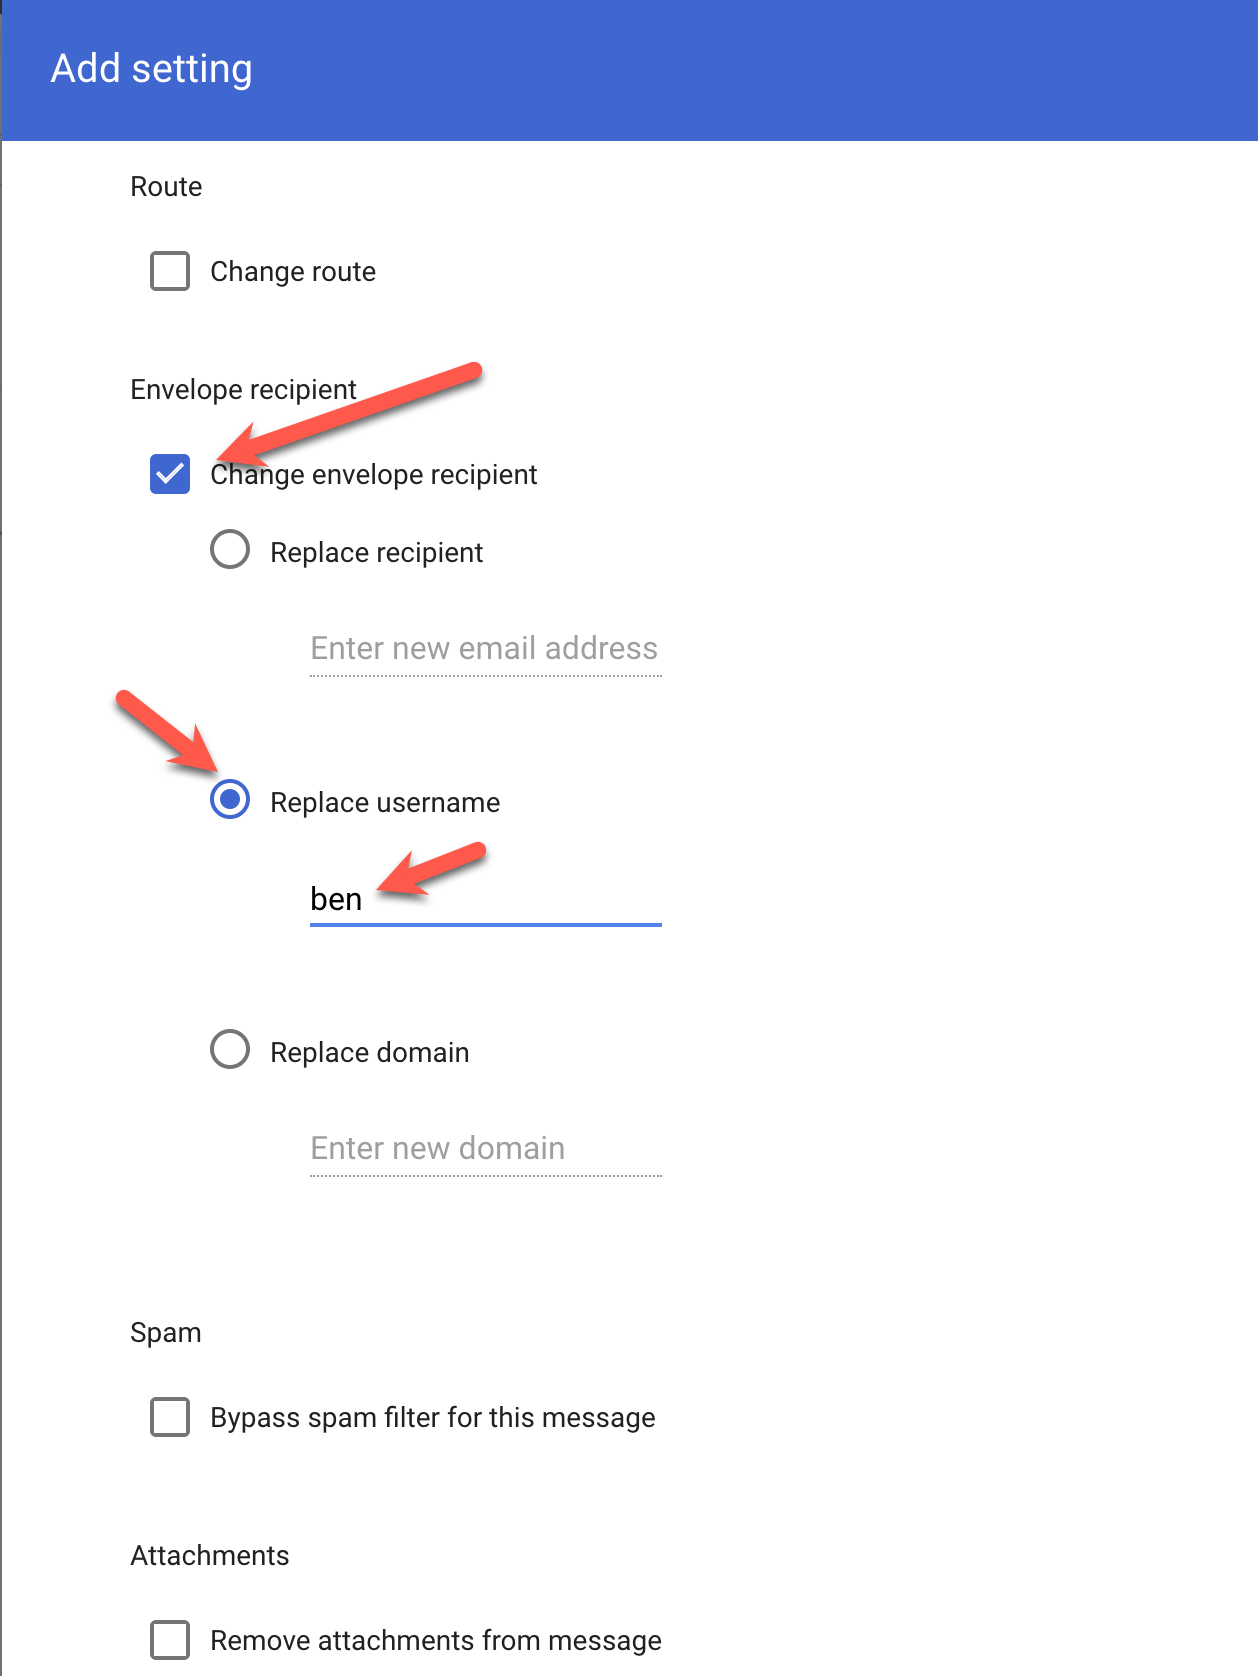
Redirect the emails to your “real” email address:
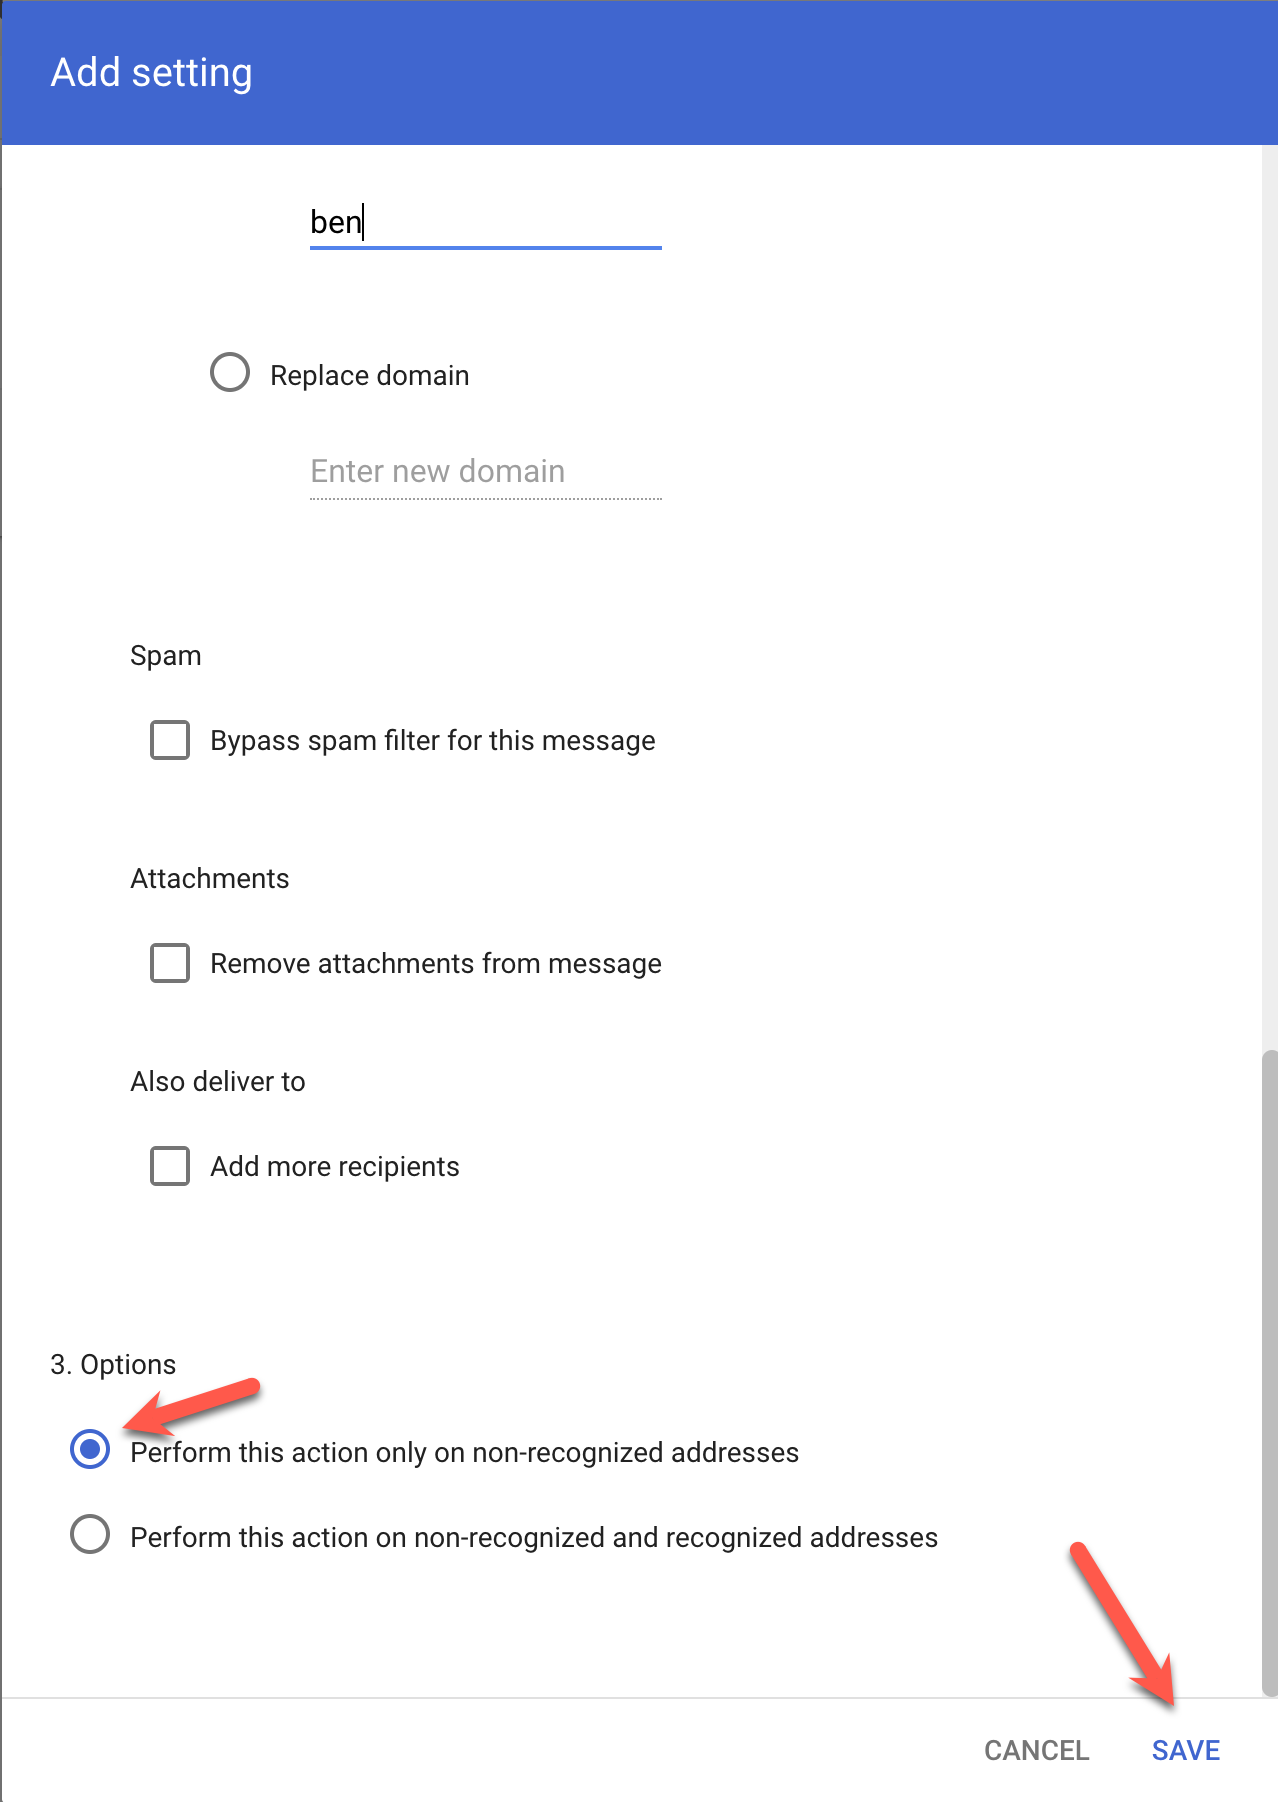
Finally, make sure you only perform this on unrecognized email addresses.

Test Your Email Setup
Send an email to yourself using the new domain to ensure that everything is working correctly.
You may need to wait a bit for the MX records to propagate. Just because Google says everything is verified doesn’t mean the Internet at large has received the memo.
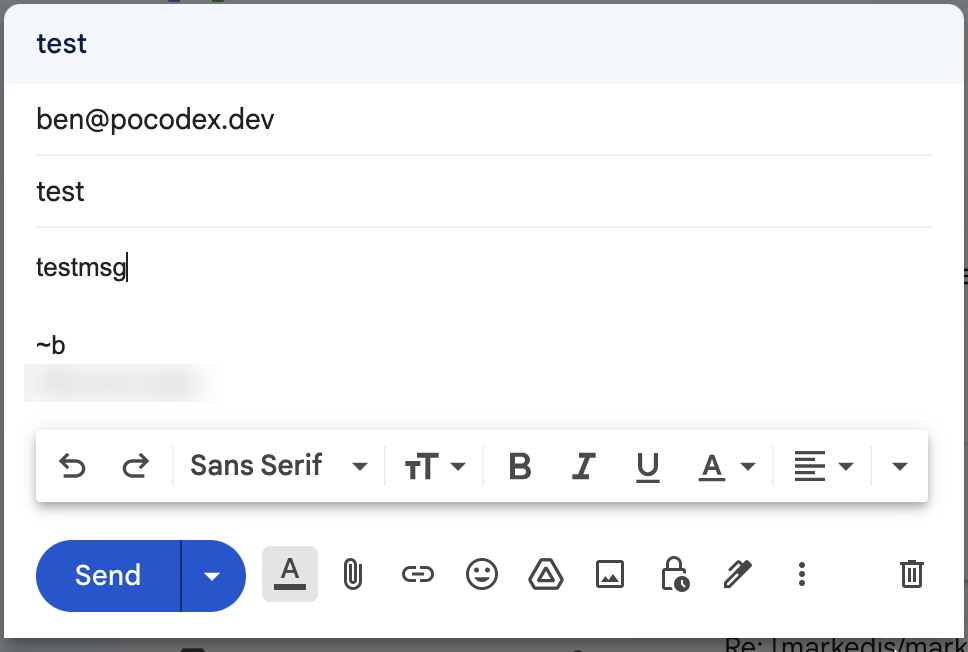
If you want to be extra sure, try sending from a completely different email provider like Proton or AOL.
Once you receive messages, you’re all set!
Add a Sender Account to Gmail
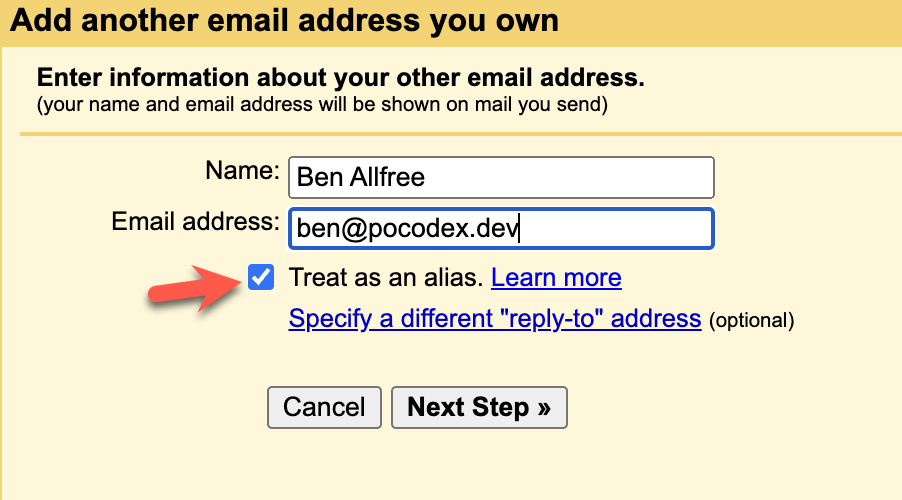
Sometimes you might want to send email FROM your domain, such as replies or customer messages. To do that, go to your user settings in Gmail and add an account:

